Magnify where you work
The camera glides to the toolbar, the waveform or the menu you click, so students see every step.
Audacity has small buttons and thin waveforms. Screenlark magnifies the area you work in, shows each shortcut and cleans the voice of your own recording.
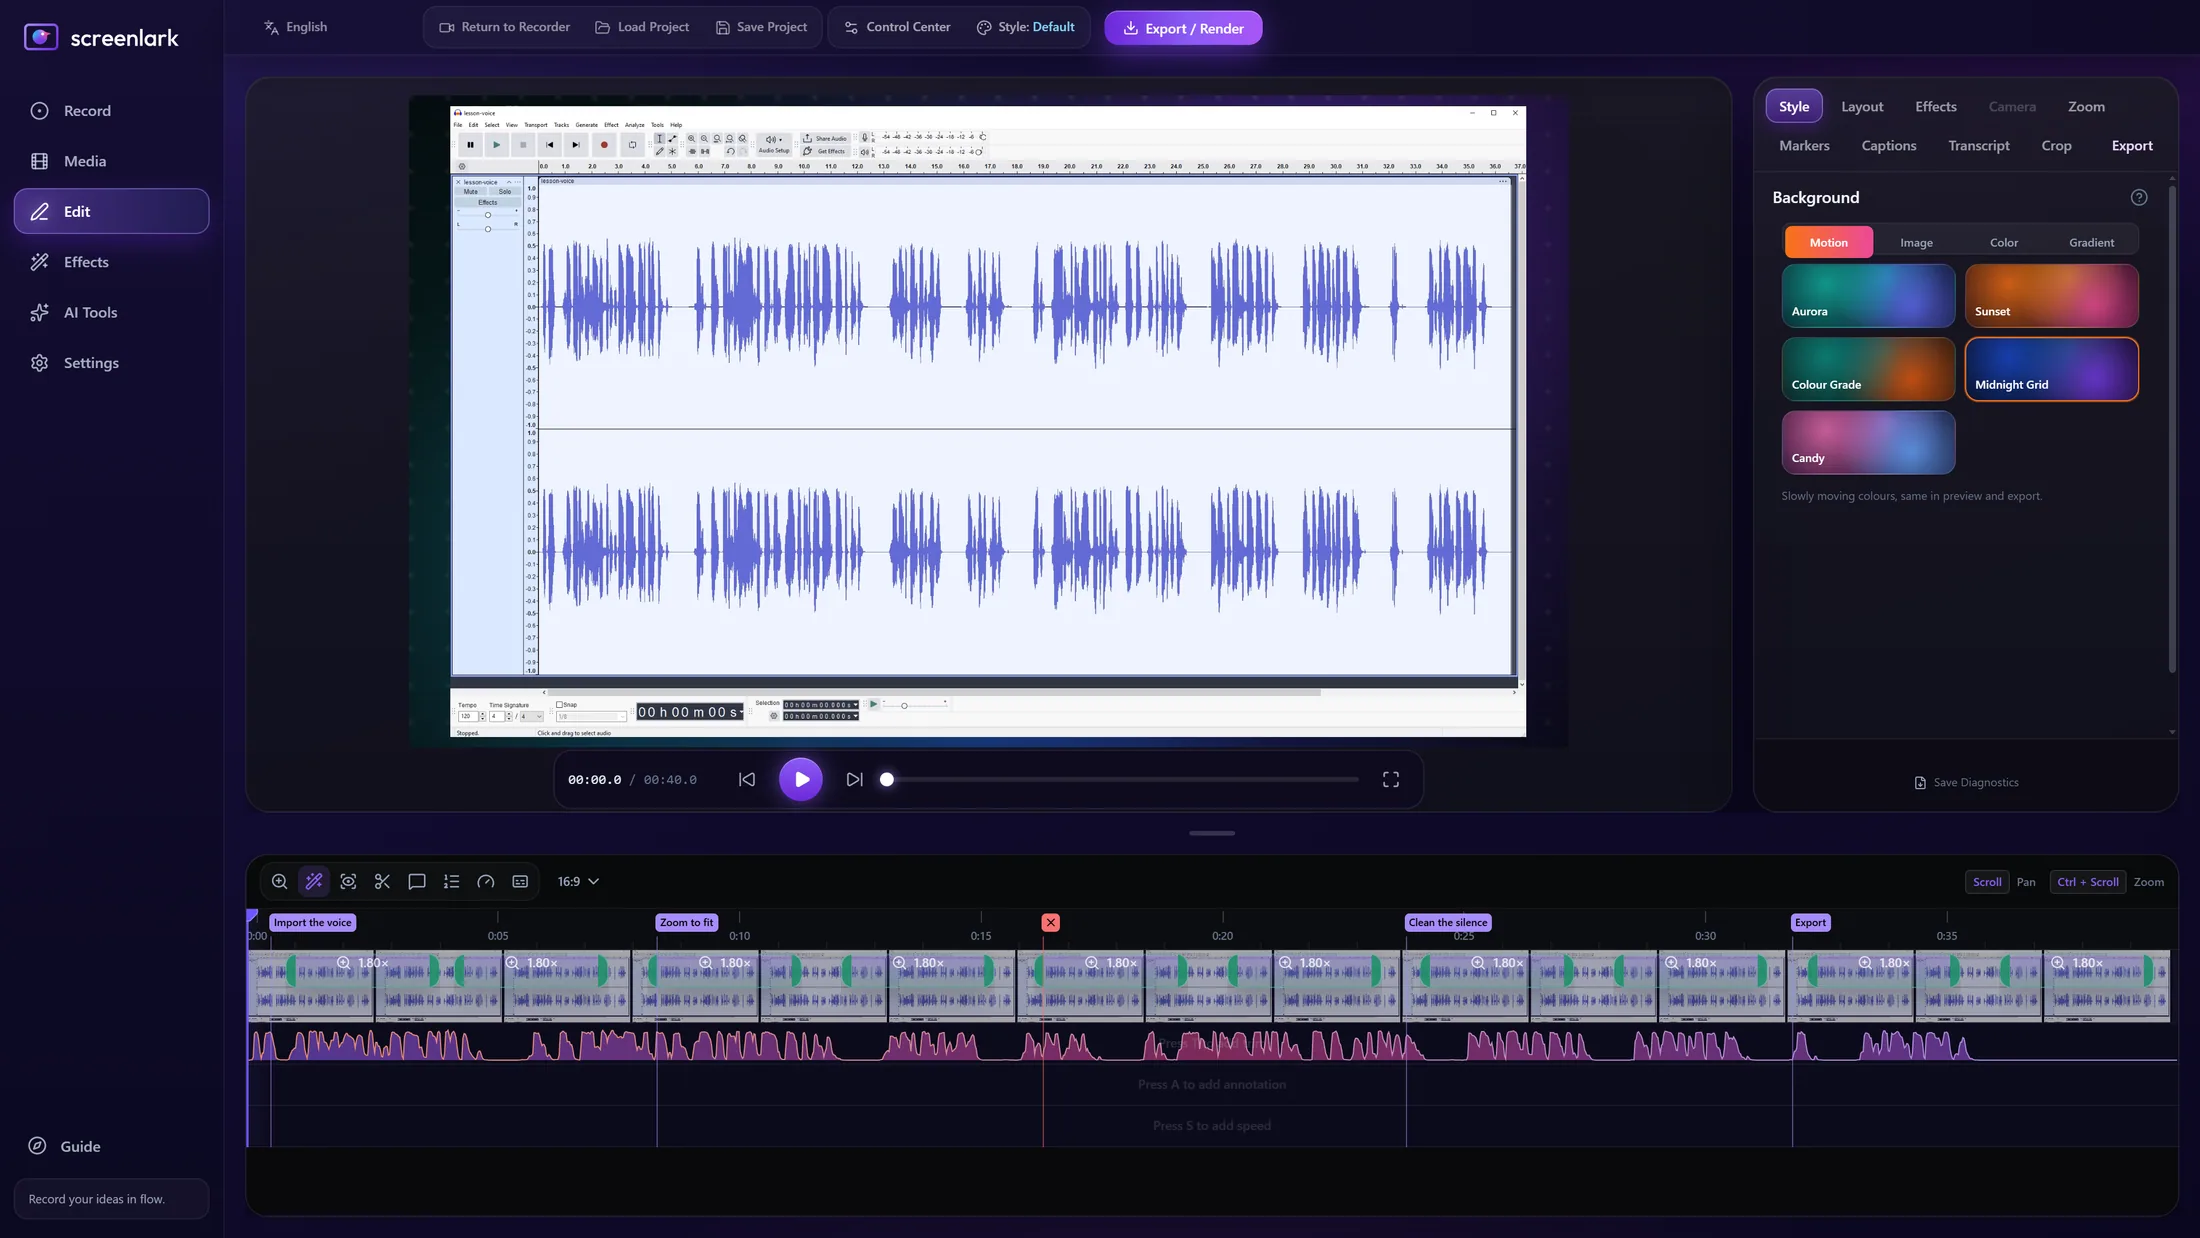
● Real Screenlark screenshot. Audacity is a trademark of its owner and is shown only to demonstrate a recording.
The camera glides to the toolbar, the waveform or the menu you click, so students see every step.
Ctrl+L, Ctrl+T, Ctrl+Shift+E and more appear as keycaps.
Noise reduction plus YouTube (−14) or Course (−16 LUFS) loudness, built into the export.
Mark each technique and export one video per chapter, each with its own .srt.
Press a hotkey after a slip and remove it with one click in the editor.
A long lesson survives a crash or power cut and is recovered on the next launch.
Left: the raw window recording. Right: the Screenlark export, with a gradient frame and a shortcut keycap.
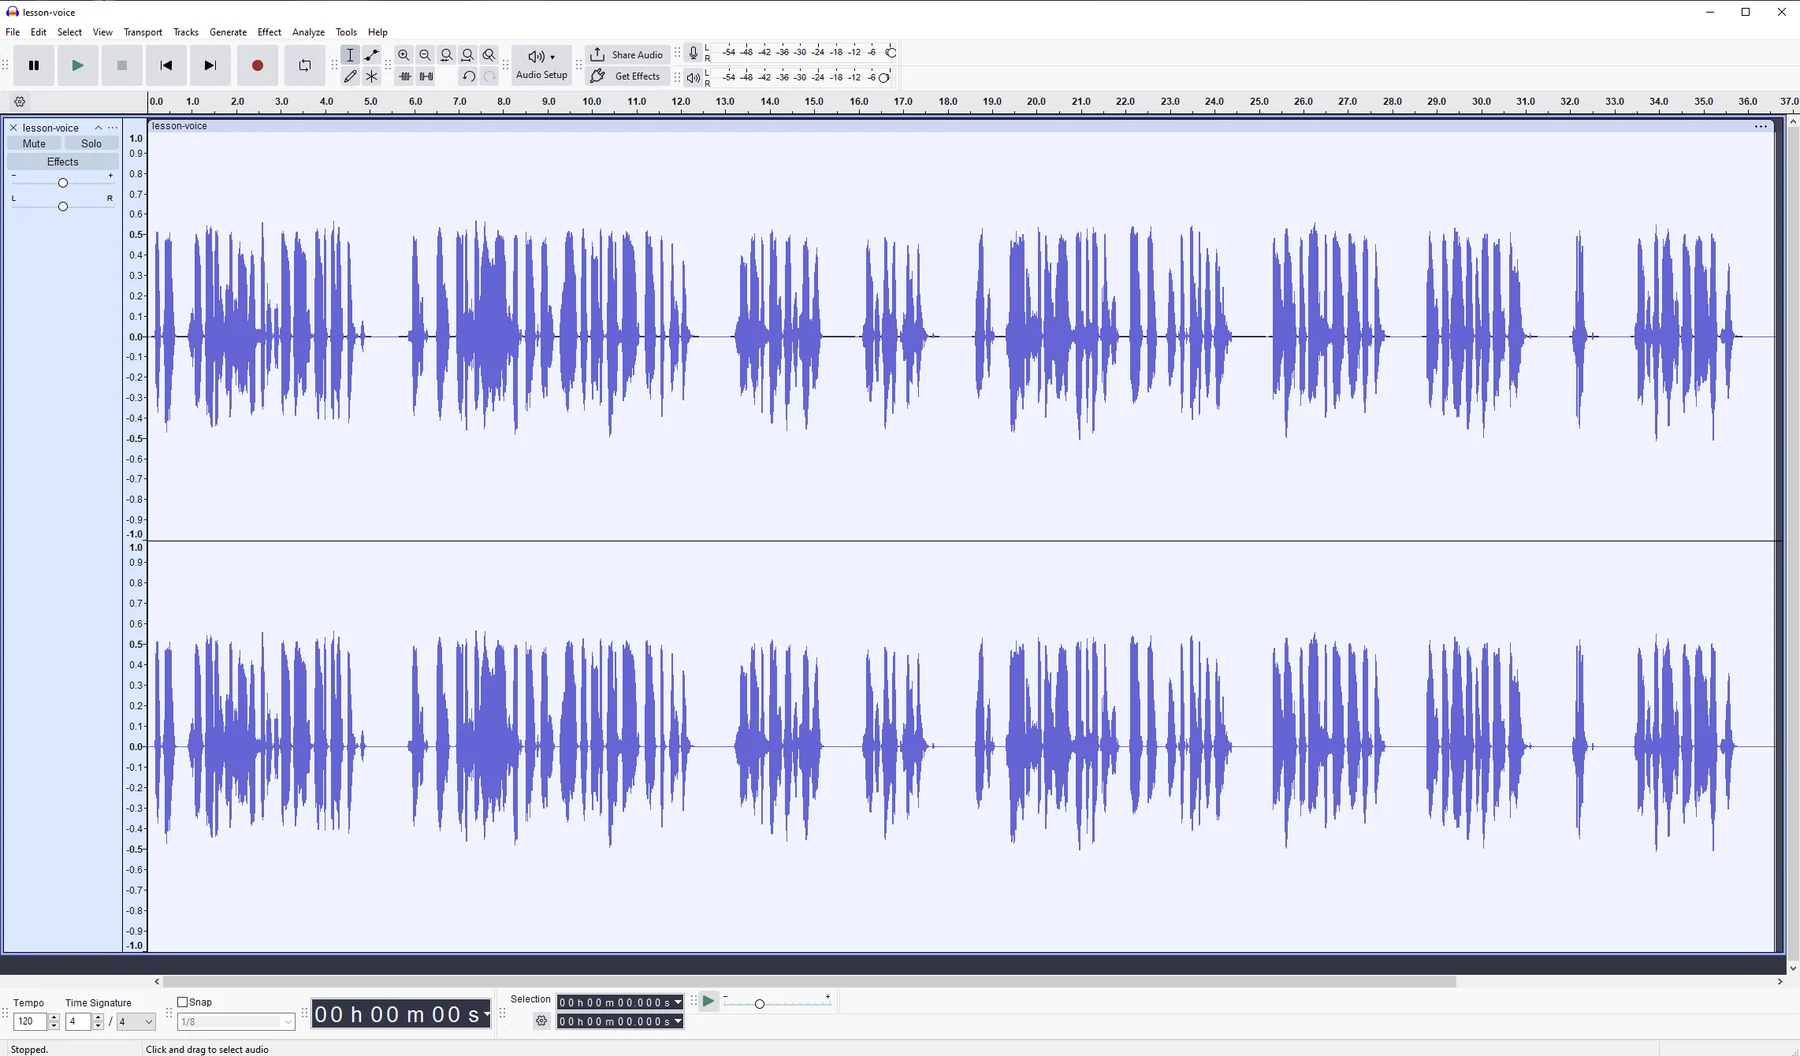
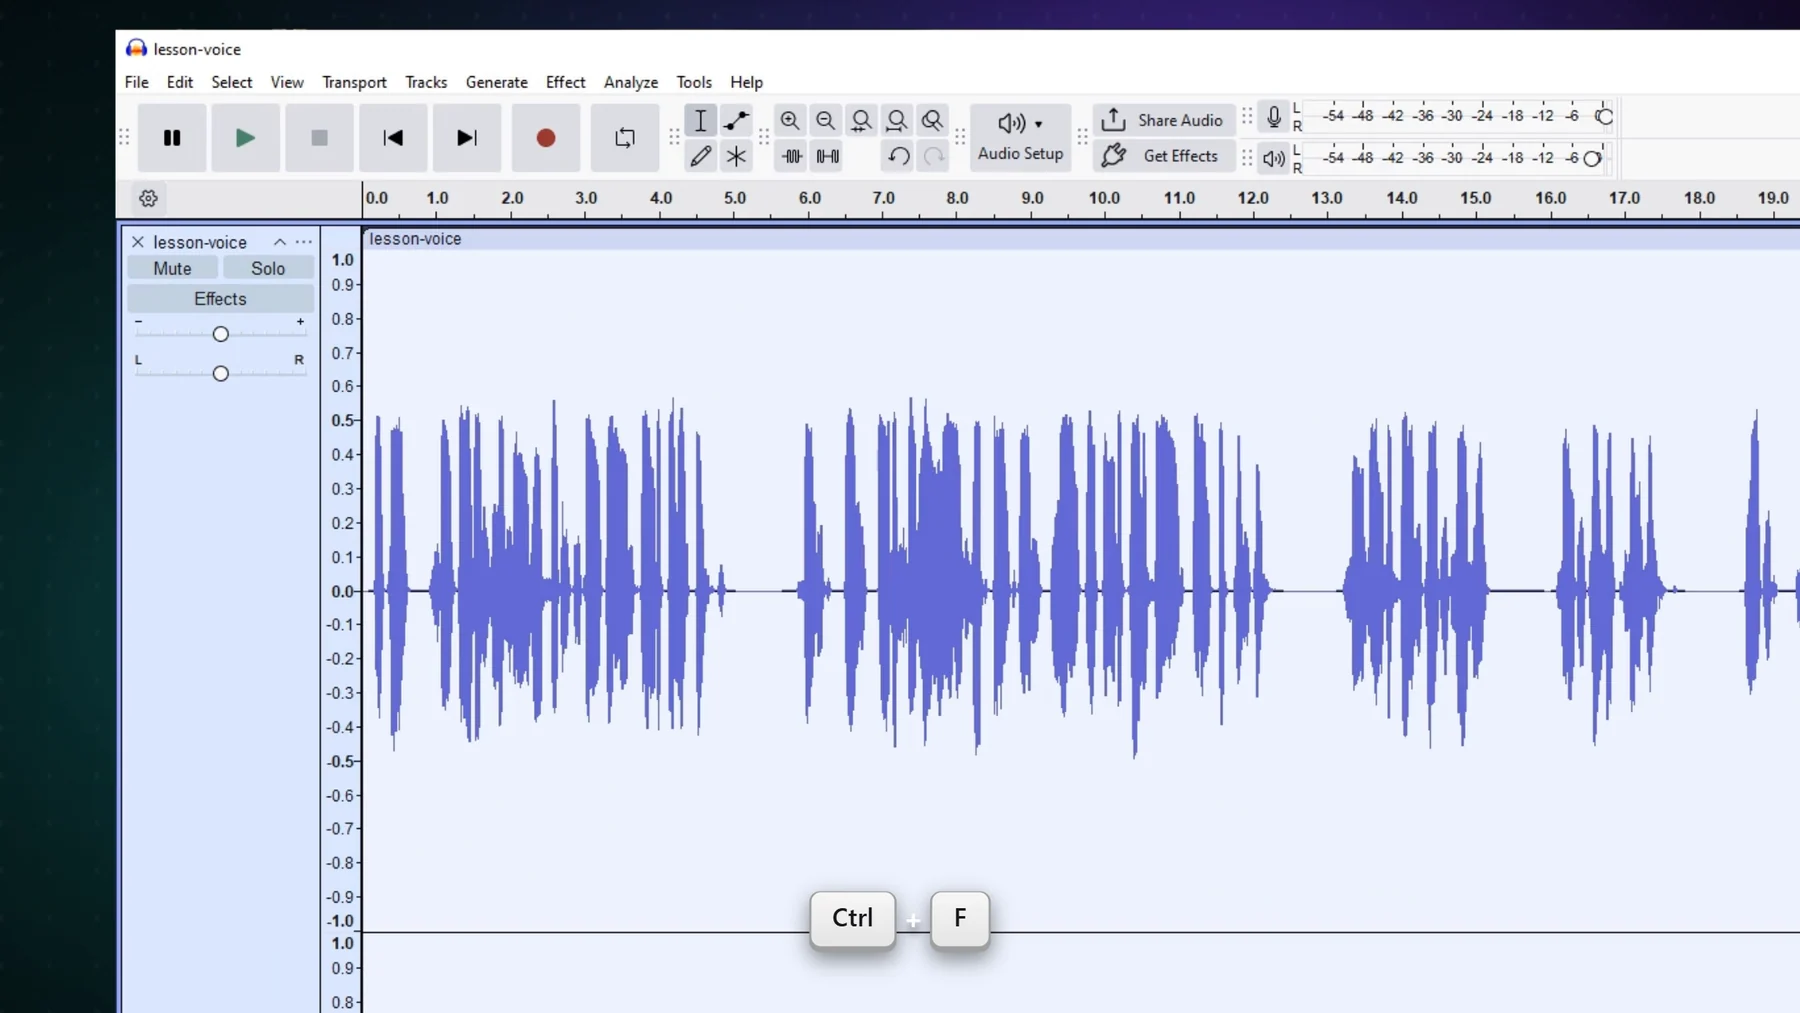 Before · rawScreenlark export
Open Audacity, then choose “General tutorial” on the Record page.
Teach as usual. Press Ctrl+Alt+Shift+C at each new technique and Ctrl+Alt+Shift+M after a slip.
The editor opens with zoom, keycaps and chapters ready. Turn on audio cleanup and export.
Screenlark records your microphone and system sound, with a separate mic track. You can export a voice-only version too.
Yes. Recording and export keep your screen's native resolution, and the zoom glides in rather than scaling a low-resolution frame.
On our test PC a 3-hour class recorded with about 3% CPU and steady memory. NVENC is used when an NVIDIA GPU is present. Your PC may differ.
Join the first teachers’ beta. We will email you the installer and a short start guide.
Windows 10 / 11 · macOS soon · The email is used only for beta updates. Privacy policy